Diablo Immortal: Lost Runes – solving the two puzzles

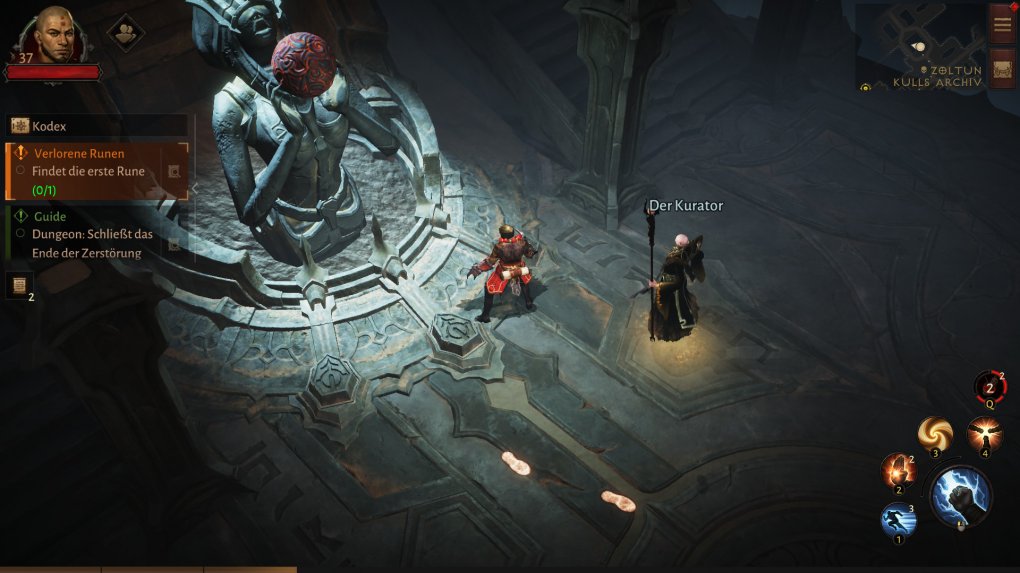
When searching for lost knowledge in Zoltun Kulle’s archives, you must, among other things, reactivate a core using three runes in order to progress further. Part of this reactivation process is in the quest Lost Runes to retrieve those runes hidden within the walls of the library.
Source: Buffed
Many players are initially at a loss for the Lost Runes quest, which asks them to solve a 9-lamp puzzle and a mirror puzzle. Unlike many other tasks in Diablo Immortal, this one requires you to use your heads instead of your hands, and this can prove tricky once you get a little too used to the latter. But don’t worry, because below you will find all the answers to solve the two riddles!
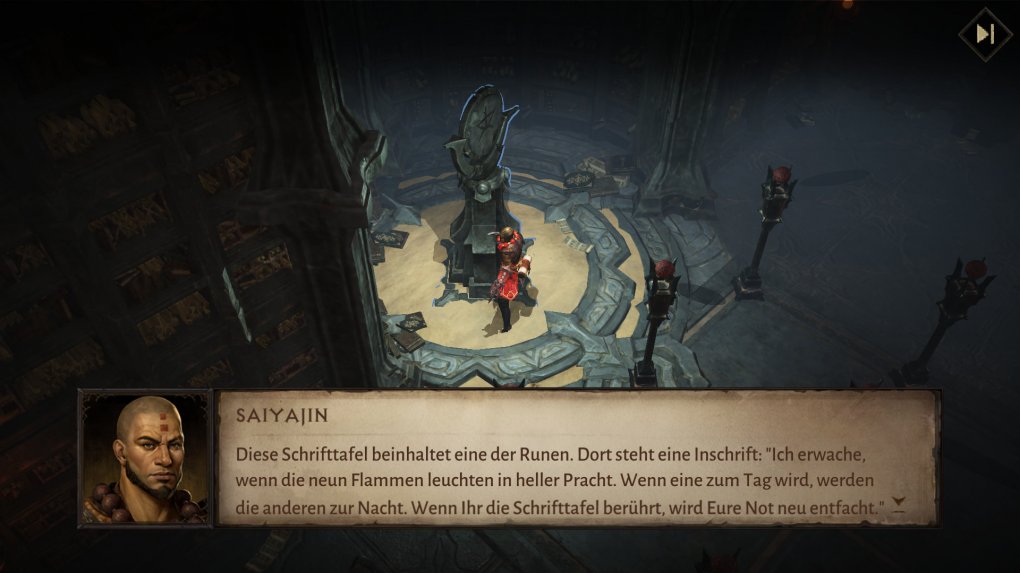
The First Rune: The 9 Lamp Puzzle
The first lost rune is hidden behind a 9 lamp puzzle that requires players to light all nine torches at once. The difficulty is that when a flame is ignited, the torches go out in all four directions, which in turn not only ignite other torches, but also extinguish existing flames. Here’s the resolution.
Source: Buffed
Source: Buffed
Source: Buffed
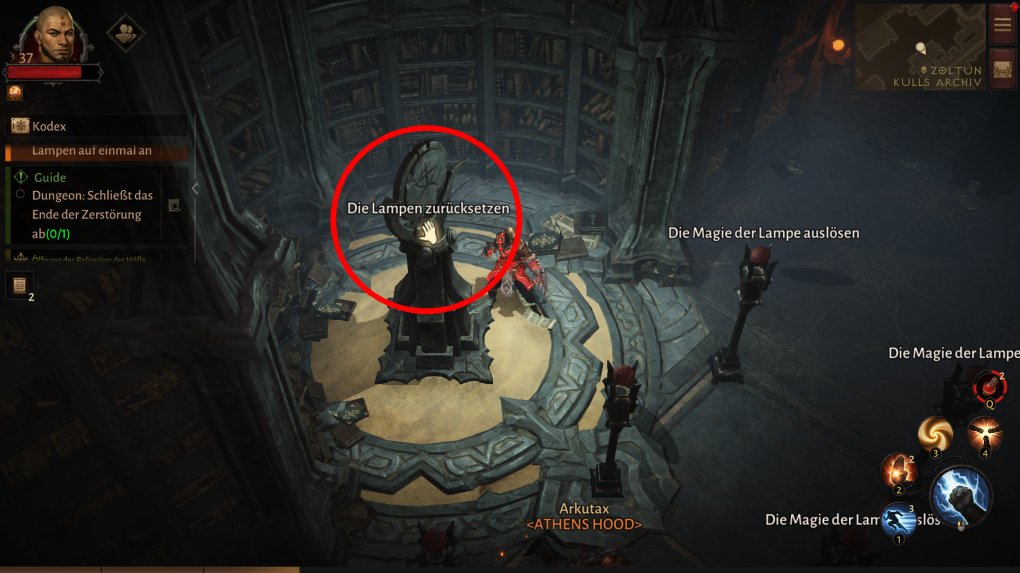
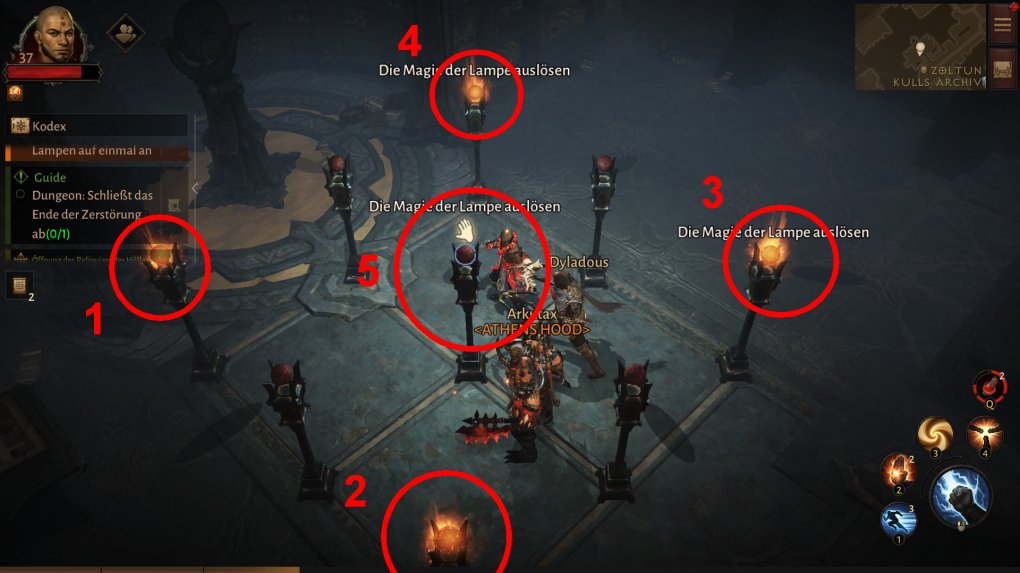
To solve the ‘Lost Runes’ 9 lamp puzzle, all you have to do is interact with all the corner lamps one at a time so that they light up at the same time. Some of the side and interior lights will flicker as you do so, but once you’ve lit the torches in all four corners, they should be the only ones burning. Then all you have to do is activate the middle one to complete the puzzle, because it sends flames to the remaining unlit torches.
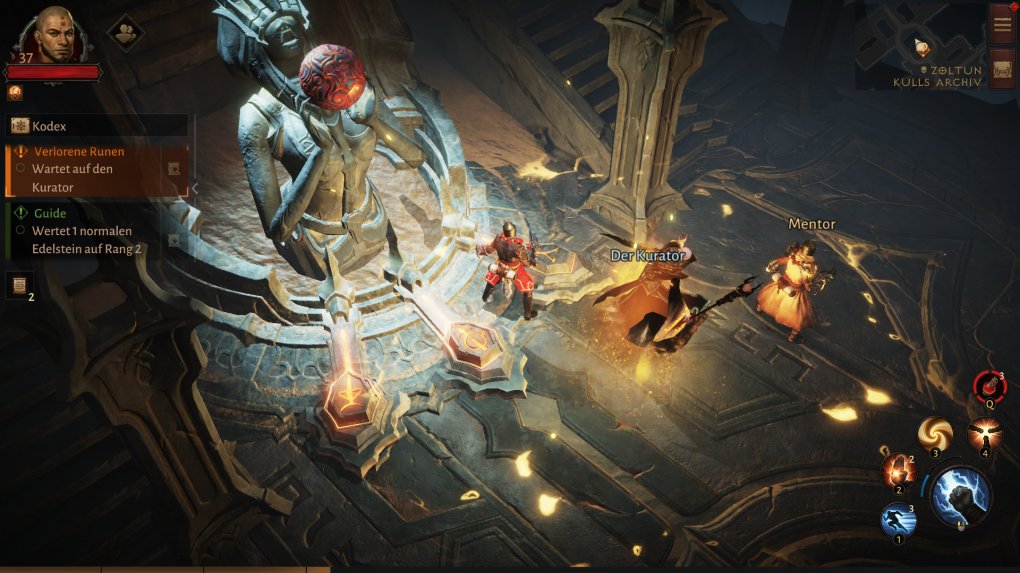
The second rune: Grimaldi, the flaming soul
The second lost rune is from the mini boss Grimaldi, the flaming soul guarded. Kill him and then click on the rune.

Source: Buffed
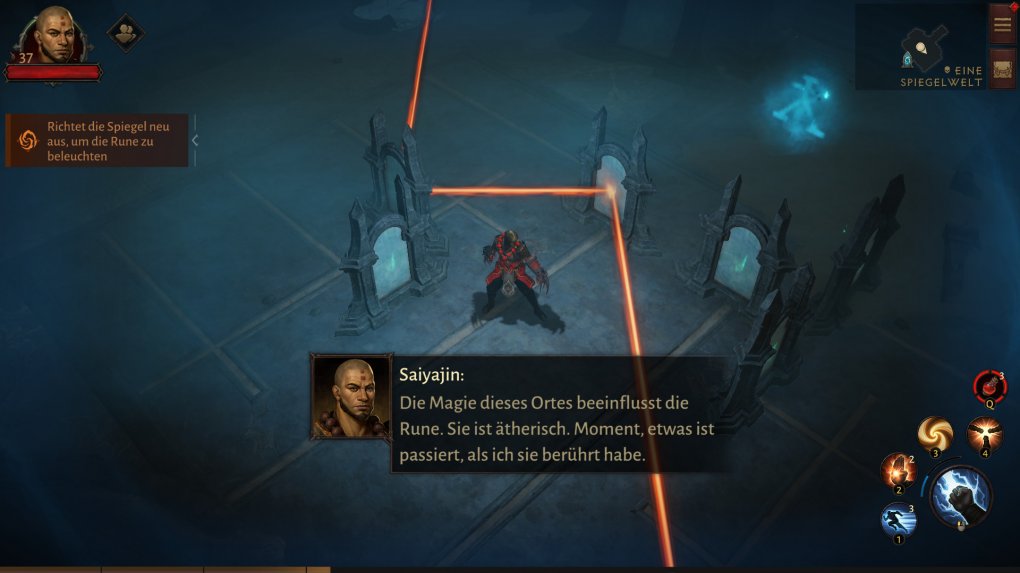
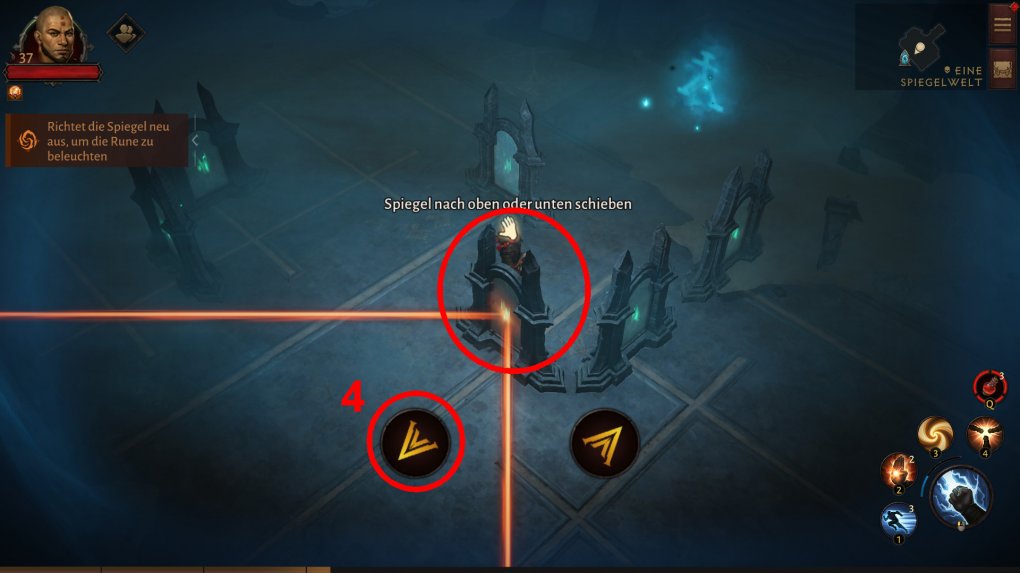
The Third Rune: The Mirror Puzzle
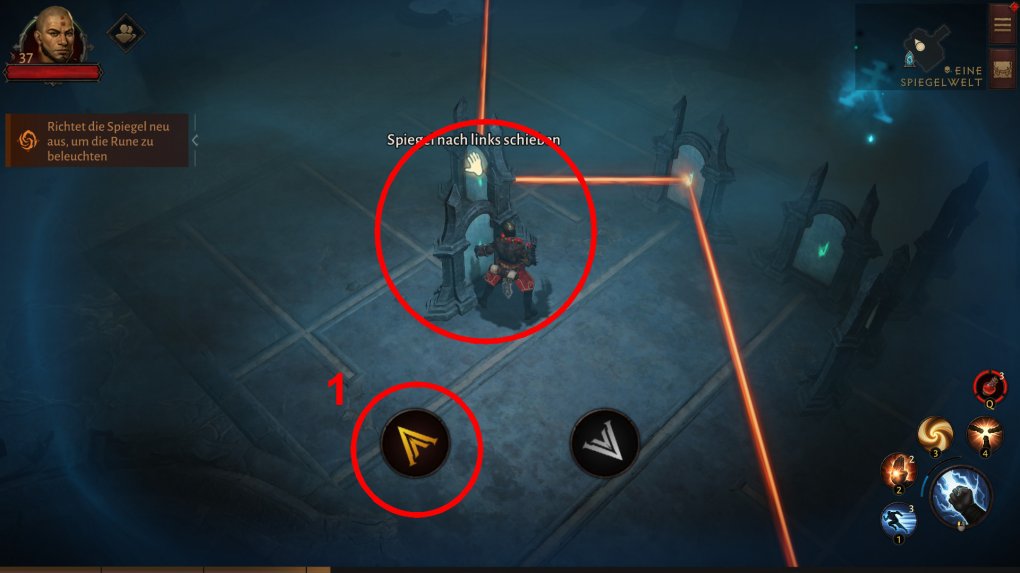
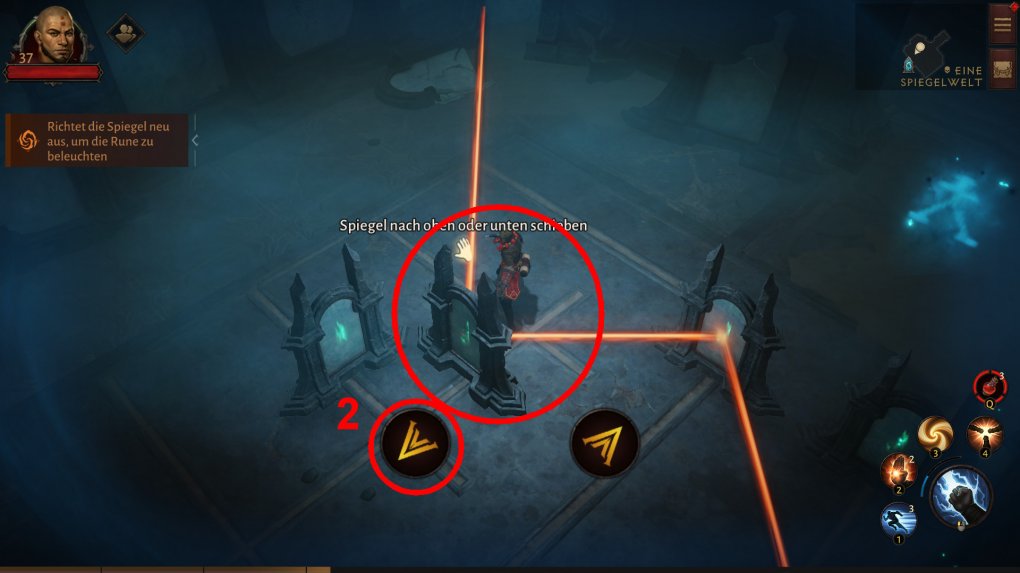
The third rune reverts to the puzzle style of the first after the combat interlude. For this puzzle you will need to use mirrors to reflect the beam of light to where the rune is anchored. This is a slightly more complicated puzzle than the first and requires a few more steps. Here’s the resolution.
Source: Buffed
Source: Buffed
Source: Buffed
Source: Buffed
Source: Buffed
Source: Buffed
Source: Buffed
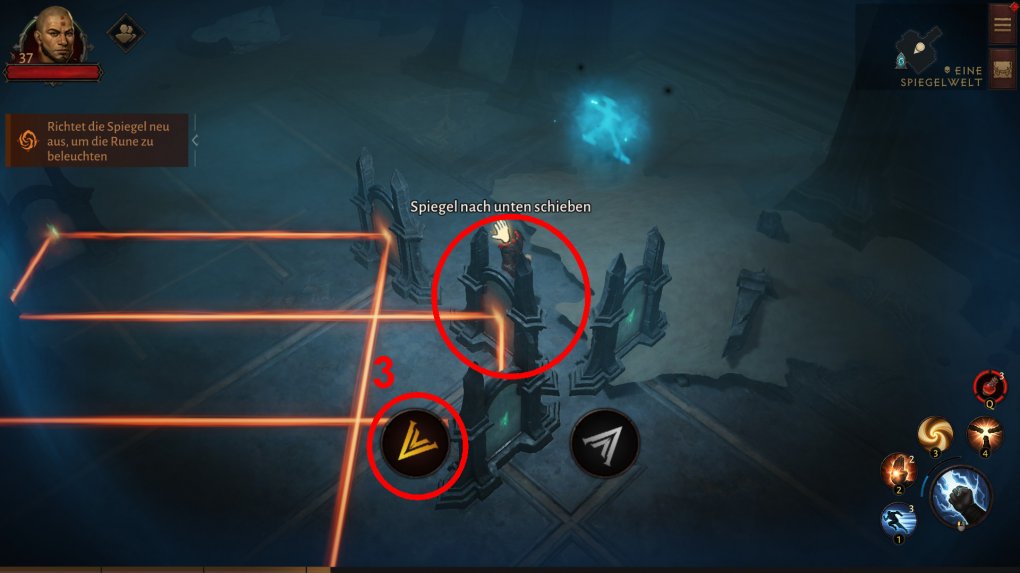
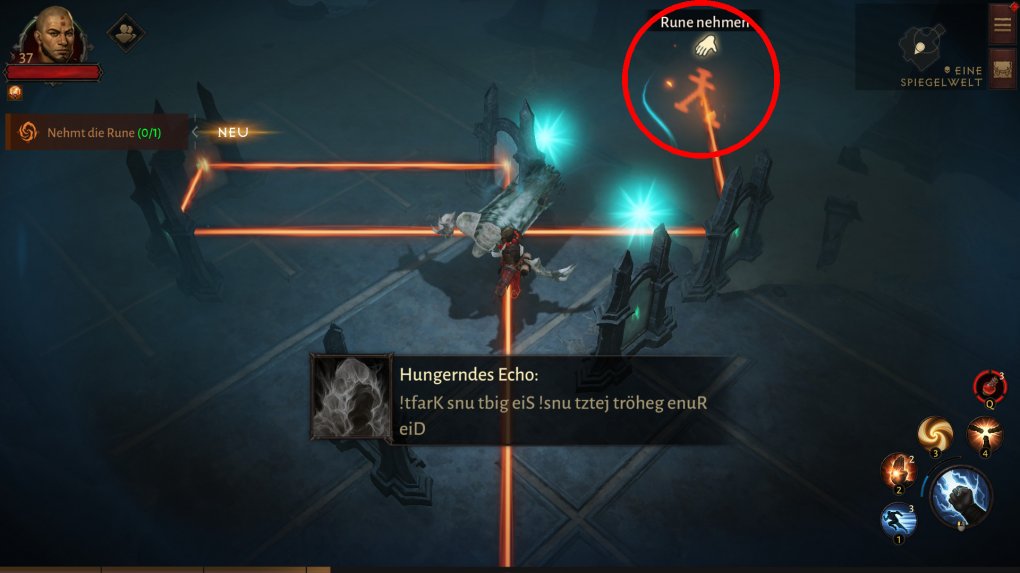
This should complete the Lost Runes mirror puzzle, and now all you have to do is go to the rune mark and pick up the quest item. After that, go back to the core and use the rune in the last socket to activate the core and continue the questline — (source).
Reference-www.buffed.de