WoW WotLK Classic Dungeon Guide: The Ancient Kingdom of Ahn’kahet
In the west of the Dragonblight of Northrend in WoW WotLK Classic you will find the secret entrance to the Old Kingdom of Ahn’kahet – secret because you have to go underground to find the dungeon portal at coordinates 27/49. In the first part of the Old Kingdom you mainly deal with spiders. Most will spit poison on you or hold you in place with nets for a short time. Slightly more dangerous are the magic launchers, which attack you with their shadow strikes. If you have major problems healing the damage from this spell, there are several ways to prevent the shadow strike:
- A priest ties up the magic caster
- A Paladin casts Penance on the caster
- Classes that can interrupt spells prevent the caster from casting Shadow Strike
Take the path straight ahead until you come to a fork in the road. Here it doesn’t matter which path you take, because both lead to the room of the first boss: Ancestor Nadox.
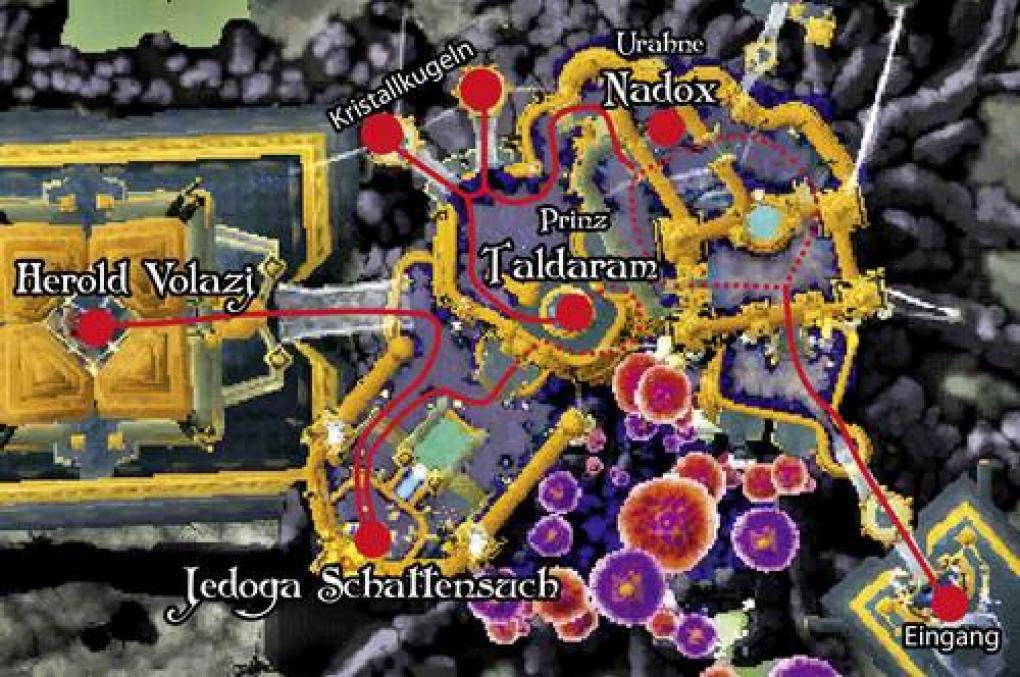
A little confusing and therefore helpful: Your route through the Old Kingdom.
Source: buffed
The fight against Nadox begins inconspicuously: the tank binds him to himself and the damage classes deal damage. After a short time, many small spiders appear, which you can quickly incapacitate in the best case with area damage. Periodically, an Elite Guardian hatches from a cocoon. Since the Guardian’s aura makes the boss immune to all damage, your damage dealers should aim damage at the Guardian and kill it. There are also individual elite opponents that the tank binds to itself.
Ancestor Nadox
Source: buffed
After Nadox has died, go down the stairs on the right to Boneflayer, Frostbringer and Eyes of Taldaram. Frostbringer and Wards primarily attack with spells; Bonegrinders like to send you into nearby groups of enemies with a fear effect. To your right, two cobweb ramps lead to two platforms. Clear the platforms of enemies and activate the two contraptions. Attention: A few stubborn opponents will spawn, which your tank must bind to itself. Leave the area again over the spider webs and go to the stairs that you see on the right in front of you. When you get to the top, you are already waiting Prince Taldaram on you.
Prince Taldaram is best tanked at the edge of his platform. Occasionally he will stun a player and then drain their life force. For this effect to end, all you have to do is hit Taldaram hard and deal a lot of damage. Additionally, after losing 25 percent of his health, Taldaram summons orbs of flame that shoot a “scorch ray” at a random player – and also at heroes standing near that character. Therefore, spread out on the platform – this way you have enough space and the damage of the singe beam is limited to only one group member. If the Searing Ray hits the tank, the melee fighters stay away for the duration of the attack.
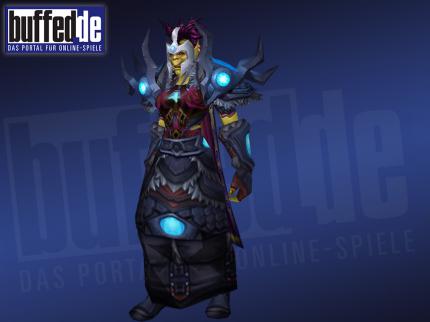
Prince Taldaram
Source: buffed
Taldaram is in heroic mode much more dangerous than in the normal version. He summons three spheres of flame at once, from which you move away as quickly as possible. At 75, 50, and 25 percent of his hit points, he stuns a random player and drains their life energy. During this time, healing effects have no effect on this player. Therefore, always keep the group with full hit points and dodge the bullets. In addition, you should always stand close to each other so that the path to the victim is minimal, and you can put him out of his misery as quickly as possible with damage on Taldaram.
After winning the fight, your path leads you through an opening in the wall, through a long tunnel that leads you to the next section of the instance.
Tip: Before you go head to head with the Cult of the Damned followers there, you can take a detour to the left to the cave beasts to get the quest item “Sludge-covered fungus” and the resulting task Crazy mushrooms to be fulfilled immediately.
For the Cult of the Damned followers, you should work with as many enemy control skills as possible, because the enemies also cause a lot of damage to the group. The elementals of some cultists are not to be underestimated. If there is a sorcerer in your group, he first banishes the fire elemental. Once the way to the next staircase has been cleared, you will now meet the leader Jedoga shadowsearch. By the way, the fight begins after you have eliminated the opponents on the battlefield with area damage.
Immediately after the start of the fight, all members of the group run together onto the pedestal of Jedoga Schattensuche so as not to accidentally draw other opponents into the fight during the fight. The orc lady primarily attacks with lightning spells. Move out of the “Thundershock” cloud as quickly as possible to avoid taking unnecessary damage. Occasionally, the cultist will rise into the air and select one of her followers for sacrifice. Kill the sacrificial lamb before it reaches Jedoga, otherwise your damage dealt will increase by 200 percent for 20 seconds – this will be your undoing in the long run.
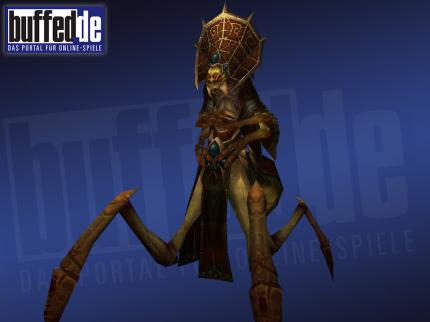
Jedoga shadow seeker
Source: buffed
New abilities are not part of Jedoga’s arsenal in Heroic mode. However, the followers have a whopping 58,000 hit points. If you don’t manage to kill them in time, Jedoga Shadowsearch deals triple damage for 20 seconds (Herald’s Gift). Melee fighters also stay away from Spinning Strike – it can knock you out with one hit.
After the fight, kill a few groups of enemies and then follow the large cobweb ramp that leads up to the final boss. The Faceless are the guardians of the final boss, Herald Volazj. They throw shadow lances at random players. However, you can and should dodge them in good time. After that, the fight against Herald Volazj nothing in the way.
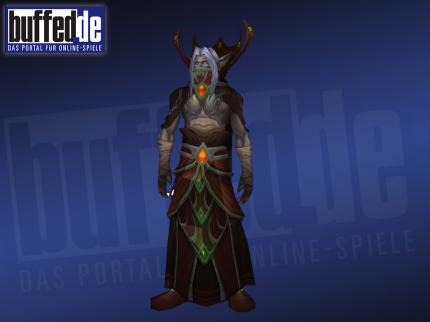
Herald Volazj
Source: buffed
The fight against Herald Volazj itself isn’t much of a challenge, as the boss mainly casts Shadow Bolts and Mind Flay. However, Volazj causes confusion with “Insanity” once he reaches 66 percent of his health. The boss himself disappears and you suddenly fight against copies of your fellow players. However, they only have about 4,000 life points. Once all copies are defeated, Volazj will reappear and combat will continue as normal. If you’ve beaten the boss down to 33 percent of his life points, he’ll cast “madness” again. If you have a Mage or a Druid in the party, remove Volazj’s curse as it deals some damage and jumps from one party member to the next.
You’ll face Volazj’s Madness twice in the Heroic version of the instance to do, which he casts after losing 33 and 66 percent of his hit points. The images have 12,000 hit points in heroic mode. Damage dealers eliminate their copy as quickly as possible to support the healer and tank afterwards.
There is a fifth boss in the Heroic version of the Old Kingdom, which can be found in the mushroom creatures section. During the battle with Amanitar, two types of mushrooms appear in the battle area. The glowing green toadstools will periodically inflict poison damage on you should you be near them. So be sure to stay away from them. Occasionally, the boss will cast a debuff on the tank that greatly increases damage taken. In this case, you must immediately go to a “Healthy Mushroom” and attack it. With this you recover and the fight continues as usual. Be sure to pick up the “Entangling Roots” to avoid trapping a player near a toadstool.
Reference-www.buffed.de