Call of Duty: Modern Warfare II Season 01: Shipment Map Information
Shipment operation
International waters
Day 47, 00:32
Deployed Factions: SpecGru/KorTac
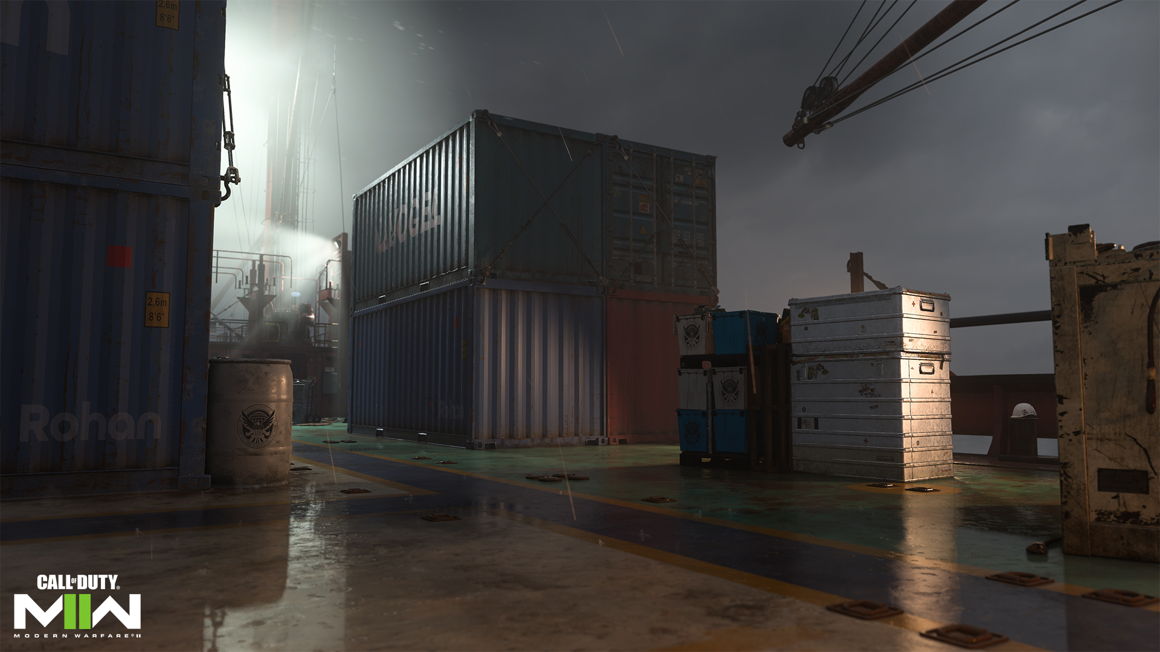
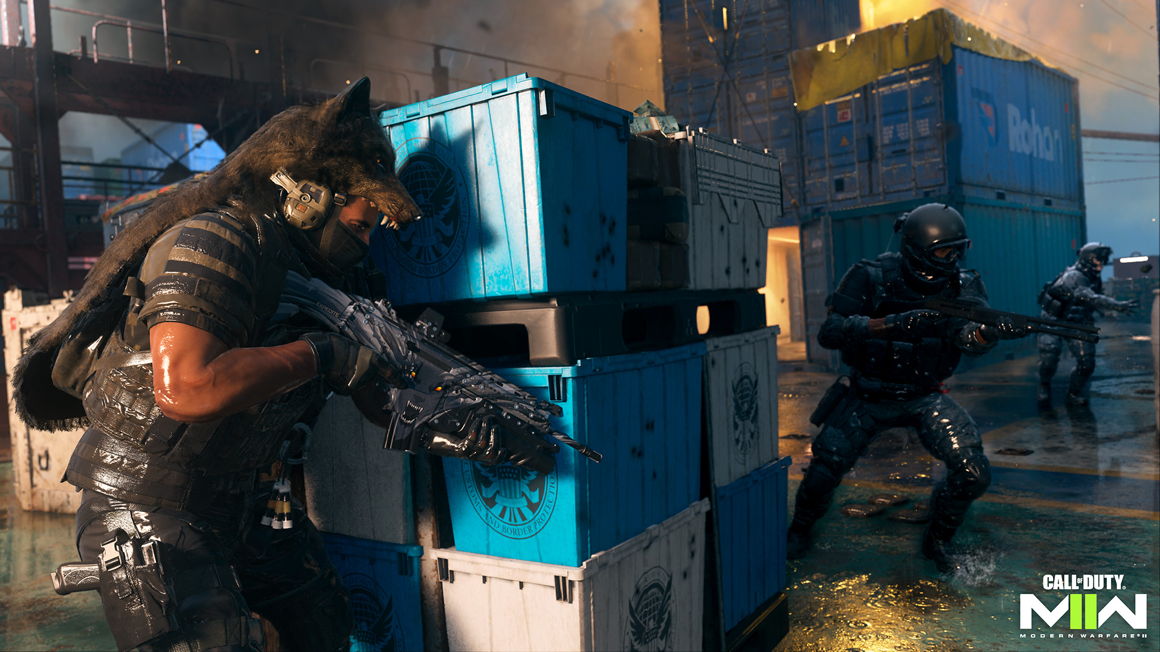
A little chaos is good for the soul, not to mention the beauty of XP gains on a small map like Shipment. In this iteration of the fan-favorite classic, the battle scene moves to the high seas as the forces of SpecGru and KorTac face off against each other, amidst stacked shipping containers and crates filled with illicit cash and goods.
No plan survives contact with the enemy, but even in this compact field there are tactics and strategies worth considering when fighting for that victory display. Let’s dig in and refine the fundamentals.
Maneuvers on the map: Route planning
|
Shipment of four main zones:
- Bridge Side
- Center
- Drug Stash and Container Stack
- Northern Route—Bridge Side
From the Bridge Side, Operators must hold their ground against the onslaught of enemies rushing in from Center and the opposite side of the map. Use the cash boxes and the open north container for cover. Veterans of Shipment will notice a key difference compared to the map iteration of Call of Duty: Modern Warfare: Cannot climb to a higher container from this point; in Shipment, the battle is at ground level.
The west end of the Bridge Side offers more cash boxes for cover, but that’s about it. Still, even in the constant chaos of Shipment, these cover pieces can mean the difference between survival and defeat; in target modes they hide from you when you capture the target, not to mention provide decent cover with just enough room to make minor adjustments to your position.
Lastly, use the two blue barrels and the silver box that extends the line of coverage to Center. These offer vital protection when looking around any corner; this allows them to stay and fight or avoid taking too much damage before dodging behind larger cover.
Center Route — Center
The eye of the storm. Center is a true madhouse, the area of the map where the most constant fighting takes place. In several modes, it is the location of an objective, forcing Operators to take chances. It also provides quick access through the map if you can survive the journey.
Unless there is a target there, get out of the stalemate as soon as possible, since you are exposed in all four cardinal directions; instead, stay back to protect your wings and catch enemies rushing through the center. Keep an eye out for the semi-open container on the ground floor in the northeast corner of Center, a favorite hideout for those unwilling to face the larger battle. Throw a grenade inside if you think there might be an enemy.
Half-open containers on the western and eastern edges of the map offer ganking points, as well as emergency shelter from explosives and rays. Don’t stay too long, or that refuge will become a dead end.
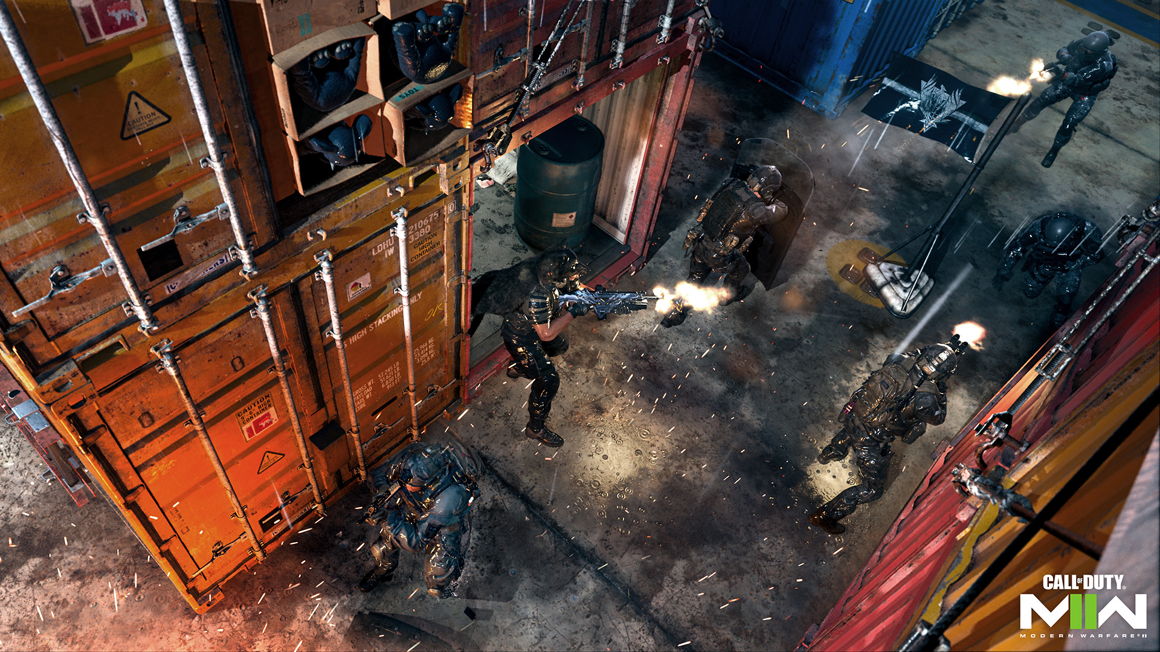
South Route — Drug Stash, Container Stack
The southern route is almost identical to the northern one, although with slight differences. Here, too, there is a container open on both sides that allows passage from west to east. Expect a lot of activity around the crates on either side, as well as in the semi-open container nearby, which, while technically part of Center, is often used by players in this section of the map.
Target routes and rotations
 |
Mode Information: Mastery
And you who thought that capturing flag B was difficult. Situated smack dab in the middle of the map, the flag will likely change hands multiple times throughout the game. Operators often crouch or lie at the edges of the capture zone, trying to remain as inconspicuous as possible. Don’t let them go unnoticed.
Due to the small size of the map, you can choose to ignore the B flag when the enemy is throwing everything at it. Instead, focus on taking the A and C flags. They are more easily accessible, if only a little, and that will take pressure off of Center. When capturing A and C, use available cover, turning face down if necessary to make the capture. If you have one, activate a Trophy System.
Keep in mind that you only need two flags at a time to gain the point advantage. Since the flags are located very close to each other, be flexible about which flag you focus on. If you keep getting knocked out by going after one of them, skip it in favor of the other flags.
Airstreaks are incredibly powerful in Dominion Shipment. Even if the enemy runs for cover in an open container, you will force them to abandon the flag, leaving it for you to take. Patience is advised when accessing one of the airstreaks; while it’s tempting to activate it right away, it’s wiser to hold it until you need to get to a flag, especially when the marker is tight.
Mode Information: Search and Destroy
It’s a totally different game in modes like Search and Destroy, where there are no respawns. Although it’s a slower-paced and more tactical affair, it still pays to be quick on the start, as even the slightest hesitation can leave you exposed to better-prepared operators.
On the attacking side, starting in the southwest corner, you can go north to Bomb Pad A or east to Bomb Pad B. Note that both pads are easily visible from the defenders starting position in the northeast; in this case, the bomb carrier may not want to immediately approach a Bomb Zone and focus on taking out part of the enemy team before going in to plant it.
Remember that while it may be tempting to forgo bomb placement in favor of a full kill, planting it is still a valid tactic. While the others are busy shooting, the bomb carrier can take cover behind one of the zones and get down to business. Once the bomb is planted, he focuses the fight on that one point, forcing the enemy to come at you. Spread out, take defensive positions and leave it to them.
As a defender, get creative with the various gank spots on the map and attack the enemy team where they least expect it. In the next round, stay in the open and flank them when they poke their heads out of your old hideout. Soon they won’t know where to look, giving you the advantage.
For either side, it’s not a bad idea to lead battles with whatever grenades you have on hand. With any luck, there’s a good chance they’ll connect, providing a strong opening to the round.
Mode Information: Hot Spot
Shipment houses five Hot Spots: one in the center plus the four corners of the map.
Breaking the first Hot Spot is the hardest. Try to get to the edge of the area without standing right in the middle. If your teammates rush to the point, take an outside position and flank. If your teammates are goal-shy, get in there.
Keep an eye on the next hotspot indicator within the last ten seconds of the current hotspot so you can position yourself accordingly. Early rotation is crucial in any Hot Spot game, but due to the ease of traversing here, it’s doubly so.
Combine the Hardened and Bomb Squad perks with the Trophy System field upgrade to increase your defense on point, complemented by the Quick Patch ult perk to speed up your health regen rate while staying on target. Players looking for support can choose Hyper Charge, which improves the reload speed and capacity of the Trophy System.
Just like in Dominion, airstreaks have a big impact here. Check the Hot Spot timer before using them, lest you try to destroy enemies at a time when the effect is minimal.
the best tips
 |
1. Go, go, go! Yes, there are times when it makes sense to hold back and wait for the enemy to come at you, but don’t go too far. Shipment exemplifies the adage that the best defense is a good offense. The less predictable your actions are, the more difficult it will be to counter them.
2. Desperate? sneak in The open boxes along the northern and southern borders each create a wedge that can be used to slip out of sight and ambush enemies moving through these areas. However, think twice before taking the position, as you have no cover and nowhere to go but forward. Use it, get a kill or two, and move on.
3. Long range works too. While shotguns, submachine guns, and assault rifles are often the most widely used weapons in Shipment, that doesn’t mean long-ranged weapons aren’t effective. With proper positioning and timing, you can gain an absolute advantage over short-range players; move as far back as possible to make it hard for them to hit their shots.
4. Notorious… but alive. Sometimes you have to do what is necessary to survive. If you’re getting wiped out, equip the Excess Media basic perk and choose the riot shield along with your primary weapon. The shield will protect your back from attacks and provide essential cover when closing in on objectives. Watch out for rockets and Drill Rush; riot shields attract them.
5. I dedicate myself to this. On this small map, you’ll want to avoid timeouts as much as possible. Equip the Quick Hands perk to speed up your reloads, gear usage, and weapon switching, so when you gain access to the perk, you can perform your actions at lightning speeds.
6. Not so safe and sound. Is there an enemy Operator hogging the containers, staying out of sight to ambush you and your teammates? Remember that in addition to Piercing Rush, armor-piercing rounds can penetrate these materials, so alter their camping routine by taking them out without ever showing your face.
7. Destroy your information. Equip the Response UAV for a low cost streak that destroys the enemy minimap. Better yet, deploy it after the opponent has dispatched their UAV, thereby thwarting their efforts to gain valuable intel. He’s also a solid asset in objective modes before a big offense or defense.
8. Launchers are still appreciated. While the chaos on the ground is constant, it’s still worth taking down enemy airstreaks. Consider bringing a Launcher onto the map and taking advantage of the brief downtime between engagements to shoot down enemy UAVs and other threats. Against ground forces, the RPG-7 can also do a good job here.
9. It infuriates. Consider using the Battle Rage field upgrade, which provides rapid health and stamina regeneration to tactical gear. It’s already a daredevil map, and with this Field Upgrade, there’s no downtime placing an object in the environment. Go for them.
10. Now do it again. In addition to enjoying Shipment for its hectic gameplay, it’s also a great map for earning Weapon XP and finishing those camo challenges. Take advantage of the reward and your gunsmith options will skyrocket.
For more information on the Shipment map, visit the Call of Duty Blog.
Reference-gamersrd.com