WoW WotLK Classic Dungeon Guide: Tower Utgarde (Normal/Heroic)
Tower Utgarde in the Howling Fjord in Northrend is one of the dungeons from WoW WotLK Classic, which are intended for heroes at level 80 – and is therefore very popular because boss Skadi can be lucky enough to capture the reins of the blue proto-drake. In the northern section of Castle Utgarde is the entrance to the tower. There, all sorts of undead rabble and vrykul fighters stand in the way of the heroic warriors. As is so often the case, the group consists of a tank, a healer and three damage classes. At the entrance to the instance you will meet Brigg Kleinkeul, who will offer you two quests. Bring him various treasures lying around the instance and you’ll be rewarded with a new chest armor. He also wishes for the death of the final boss, King Ymiron. This time there’s a helmet as a reward.
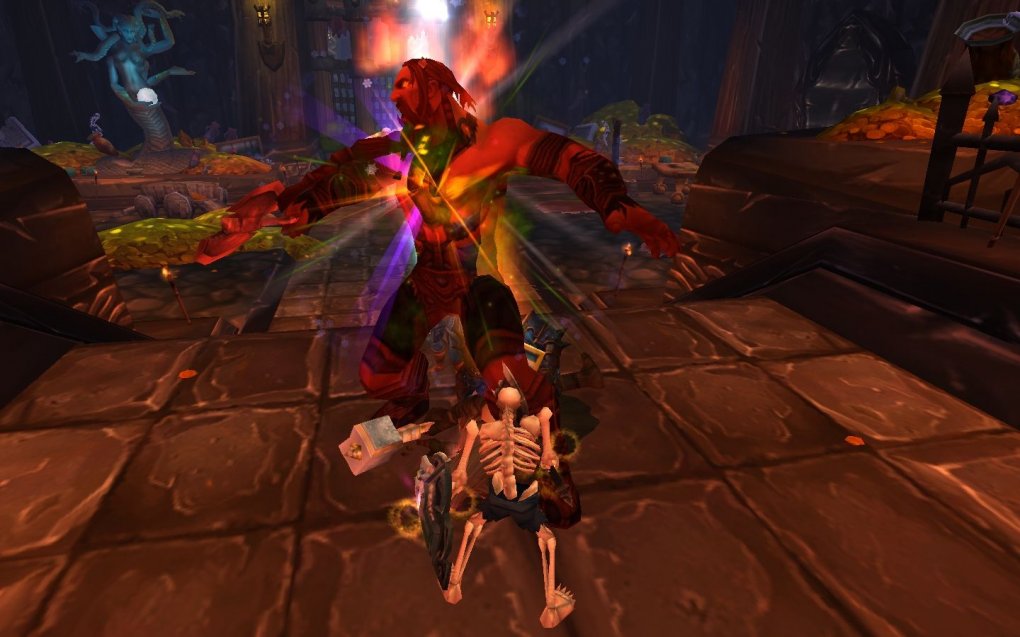
In the first room you will encounter skeletons, monstrosities and vrykul
Source: buffed
In the treasury you will encounter some skeletons, but they pose no danger due to their low hit points. After that, some dragon flayers stand in the way of the group. Take care of the fanatics first, because they can cause significant damage to the tank. After that, it’s up to the seers. First and foremost, interrupt their wave of healing. They also attack with lightning strikes and chain lightning strikes, which you also interrupt if possible. The last thing the death seekers have to do is believe it. Except for a cleave attack and some area damage, they don’t pose much of a threat.
Occasionally you will still meet giants of the scourge. These occasionally infect the tank with a disease that damages nearby allies. Get rid of the plague if possible and heal the tank, which has been hit hard by the giants. Then you go to the right on the castle wall. You’ll face the same standard enemies there, and you’ll quickly fight your way into the room at the end of the hallway. Here you meet the Lich King, who also presents you with the first boss Svala Gravesorrow.
The fight against Svala Gravesorrow does not present you with a particularly great challenge. Your tank will grab the queen as you deal damage to her. The Flame Pools will occasionally fire orbs of flame at a random player, but your healer will compensate for this. At 75, 50, and 25 percent hit points, Svala rises into the air and begins her Ritual of the Sword. In doing so, she sacrifices a random player, who is now lying helplessly on the altar. Put him out of his misery by quickly killing the three Ritual Channelers. These have almost 13,000 hit points. Once they die, the victim escapes the altar and you wait at a safe distance for the sword to strike. If you don’t defeat the channelers in time, you’ll face a nasty encounter with the sword, which deals significant damage.
In the heroic version not much changes, only the channelers have an additional aura. Hitting one of the channelers with an attack grants you a stacking debuff that deals damage over time.
After the boss fight, you go up the stairwell, where you meet undead vrykul opponents for the first time. First, turn off their wolf companions, who occasionally fixate on a random player. After that, the meat hunters have to believe it, heating you up with targeted shots and multiple shots. They look pretty stupid without their companions and quickly bless their time. After a few standard enemies, you’ll come to a room with a red ball. After recovering from the last patrol there, turn your attention to the red orb in the room. Activate this to face the fight against Gortok Palehoof.
After starting the fight with the orb, you have to face off against two out of four randomly selected opponents one after the other. This can be a furbolg, a rhinoceros, a worgen, or a jormungar worm. The furbolg attack the group with chain lightning and occasionally teach you fear. Occasionally he will go insane and attack random players. The rhinoceros is particularly dangerous because of its bleeding effects – your healer is required here. the worgen stands out because of its high damage to the tank. The worm attacks you mainly with poison attacks, and occasionally receives the support of small worms. Once the two opponents are defeated, you take up the fight with Gortok Palehoof yourself. Tank him with his back to the group, as his bow smasher deals damage in the cone in front of the boss. Occasionally he will pierce a random player, causing that player to take some damage. The battle against Palehoof must not last too long, as your maximum hit points will decrease over time.
In heroic mode, the difference from normal mode is that that you have to deal with all four opponents before Palehoof.
Immediately after Gortok’s death, proceed through the door to the right. But beware: The next boss is already waiting for you around the corner: Skadi the ruthless.
As soon as you approach Skadi, he skilfully swings onto his dragon “Grauf” and takes off into the air. Now a gauntlet begins, where you constantly have to deal with undead opponents. The warriors give you a hamstring that reduces your movement speed for a short time. If possible, interrupt the Shadow Bolts and the Warlock’s Curse. These enemies are also vulnerable to stun effects. First and foremost, note the harpoon fighters – they leave behind a harpoon after their death, which primarily picks up your damage dealers. They also throw a net that ties you in place for three seconds. To make matters worse, Skadis Proto-Drake periodically breathes blue mist into either the left side or the right side of the path. Go to the other side of the aisle as quickly as possible to avoid taking any damage.
At the end of the obstacle course there are three harpoon launchers from which you can fire your collected harpoons. Wait until Skadi is in front of the harpoon guns and then shoot the dragon with everything you have. You need four hits with the harpoons, then Grauf dies and his rider jumps down to you. Occasionally, Skadi throws his poisoned spear at a random player who now needs healing. If Skadi starts to whirlwind, all players around him will flee. Be careful – during the whirlwind, Skadi can still move, but he’s slower than usual.
Running the gauntlet of enemies before Skadi’s actual appearance takes place in Heroic mode takes a bit more time, as you need six harpoon hits before Skadi enters the fight.
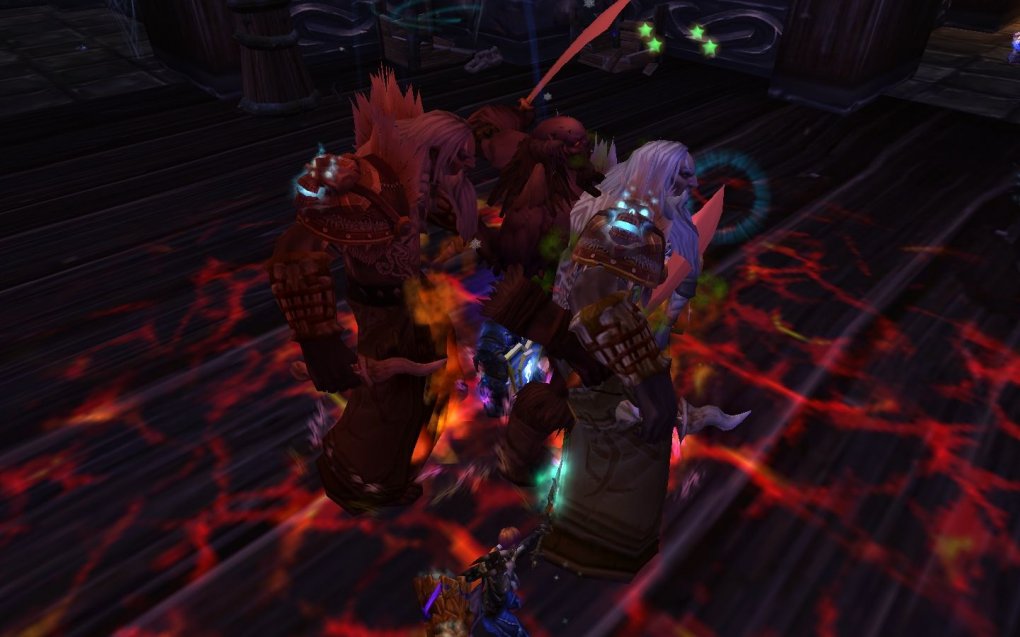
The twilight shamans heal their fellow combatants.
Source: buffed
After the fight with Skadi you will encounter some standard opponents. Interrupt the Necromancer’s Shadow Bolt salvos, which can inflict significant party-wide damage. Keep an eye out for the Berserkers – they have a fear effect and really hit the tank. The twilight shamans are also unpleasant fellows. They heal their companions and occasionally transform into a wolf creature, allowing them to deal more damage. After a few groups of opponents you are in King Ymiron’s room. Eliminate the last three opponents and you can take on the final boss.
Occasionally, the king casts a plague on the tank, which not only deals regular damage, but also reduces the effectiveness of healing effects – remove them if possible. If the king strengthens himself with his dark power for five seconds, you briefly interrupt your damage to reduce the group damage suffered. Of course you can also remove Skadi the magic buff. Occasionally the boss will stun you for eight seconds and call one of his ancestors on one of the four boats for help. These ancestors grant him an additional skill or support him in battle until he runs to the nearest boat.
The left front boat as seen from the entrance spawns ghost springs that slowly follow you. Just pull the boss away from them so their area damage isn’t an issue. Several revenge spirits appear on the left rear boat, which you fight with area damage. If they touch you, they leave behind a stacking curse that reduces your attributes by 2% per stack. The front right boat gives Ymiron the Spirit Strike ability, while the back right boat casts a Spirit Blast, dealing significant area damage.
In the heroic mode of the fight against King Ymiron Theoretically, the encounter does not change very much, only his attacks and those of his ancestors do more damage. A new mechanism does not have to be internalized. Your healer, on the other hand, needs to be extra careful; would be weird if not.
Reference-www.buffed.de