How to activate Flags in Chrome to test beta features
Thanks to the Chrome Flags we will be able to experience features that are not officially open in Chrome, but that are present. This is something interesting if you want to know that it could come in the future in the Google browser and try it yourself in advance. Let’s see how to do it.
The fact of being able to activate the different Flags that are in Chrome, means that we can test different experimental functions (beta) of the Google browser.
Some of these functions will become part of the tool in the future, but others, the engineers of the big G will dismiss them and disappear from the software.
This is a common practice in Google with your browser, but what is not so common is that users enter them to test them, since it is not a very common area if you are not a more or less expert in this software.
More than anything because entering the Flags is simple, however finding those that would be interesting to try, it is not so much anymore and most of the users who have entered this part of Chrome go to fixed shot and know which one they want to open.
What are Flags?
The Flags son internal pages of the Google browser that give us access to hidden and experimental parts of it, as we have already told you.
Are experimental functions They are there as a test and data collection of how they would work, but without explicitly putting them. As we have already discussed, many of them will never be incorporated into the stable version of Chrome.
If we know how to search, we can have functions that are not present in the normal version, although it should be noted that being experimental and beta, their reliability can be quite limited and they can cause us problems, especially stability.
In the most serious cases the problems could come from the security or data privacy, so we should not enter the Flags if we do not really know where we are entering.
The vast majority of Flags shared between different devices, that is, we will have practically the same, regardless of whether we are on a device with Windows, Android or iOS.
However, there are some that are specific for each type of operating system, so we can have some that will only be in each one. That is, we may use a Flag in Android that is not present in Windows and vice versa.
The use of these Flags is much easier than you can imagine, since you can go looking one by one how they work to see if you could leave them as assets for you. In each of them there is a Little description of what it is for, so we are going to have some idea of what we are activating.
Before knowing how the Flags are activated and work, we are going to advise you that if you are not sure what you are doing or do not understand the functions that they activate, it is better to leave everything as it was, since from that ignorance we can take any action that you do that Chrome does not work again as it has done so far.
If you still want to experiment with Flags, but are not sure of your knowledge, you can always download the Canary version of Chrome, which you can use for all these experiments, so that the one you use as your everyday browser remains intact and out of all danger.
Flags: enter and activate
The truth is that the way to enter the Chrome Flags is so extremely simple that if you have never seen it, it will even surprise you.
We just have to open the Google Chrome browser and then write the following in the search bar: chrome://flags
Once the Flags window comes out, you will see that you are already in the experimental part that Chrome has. Yes, everything it will be in english, so if you are not particularly agile with the language of Shakespeare, you may have a few problems, especially with the descriptions.
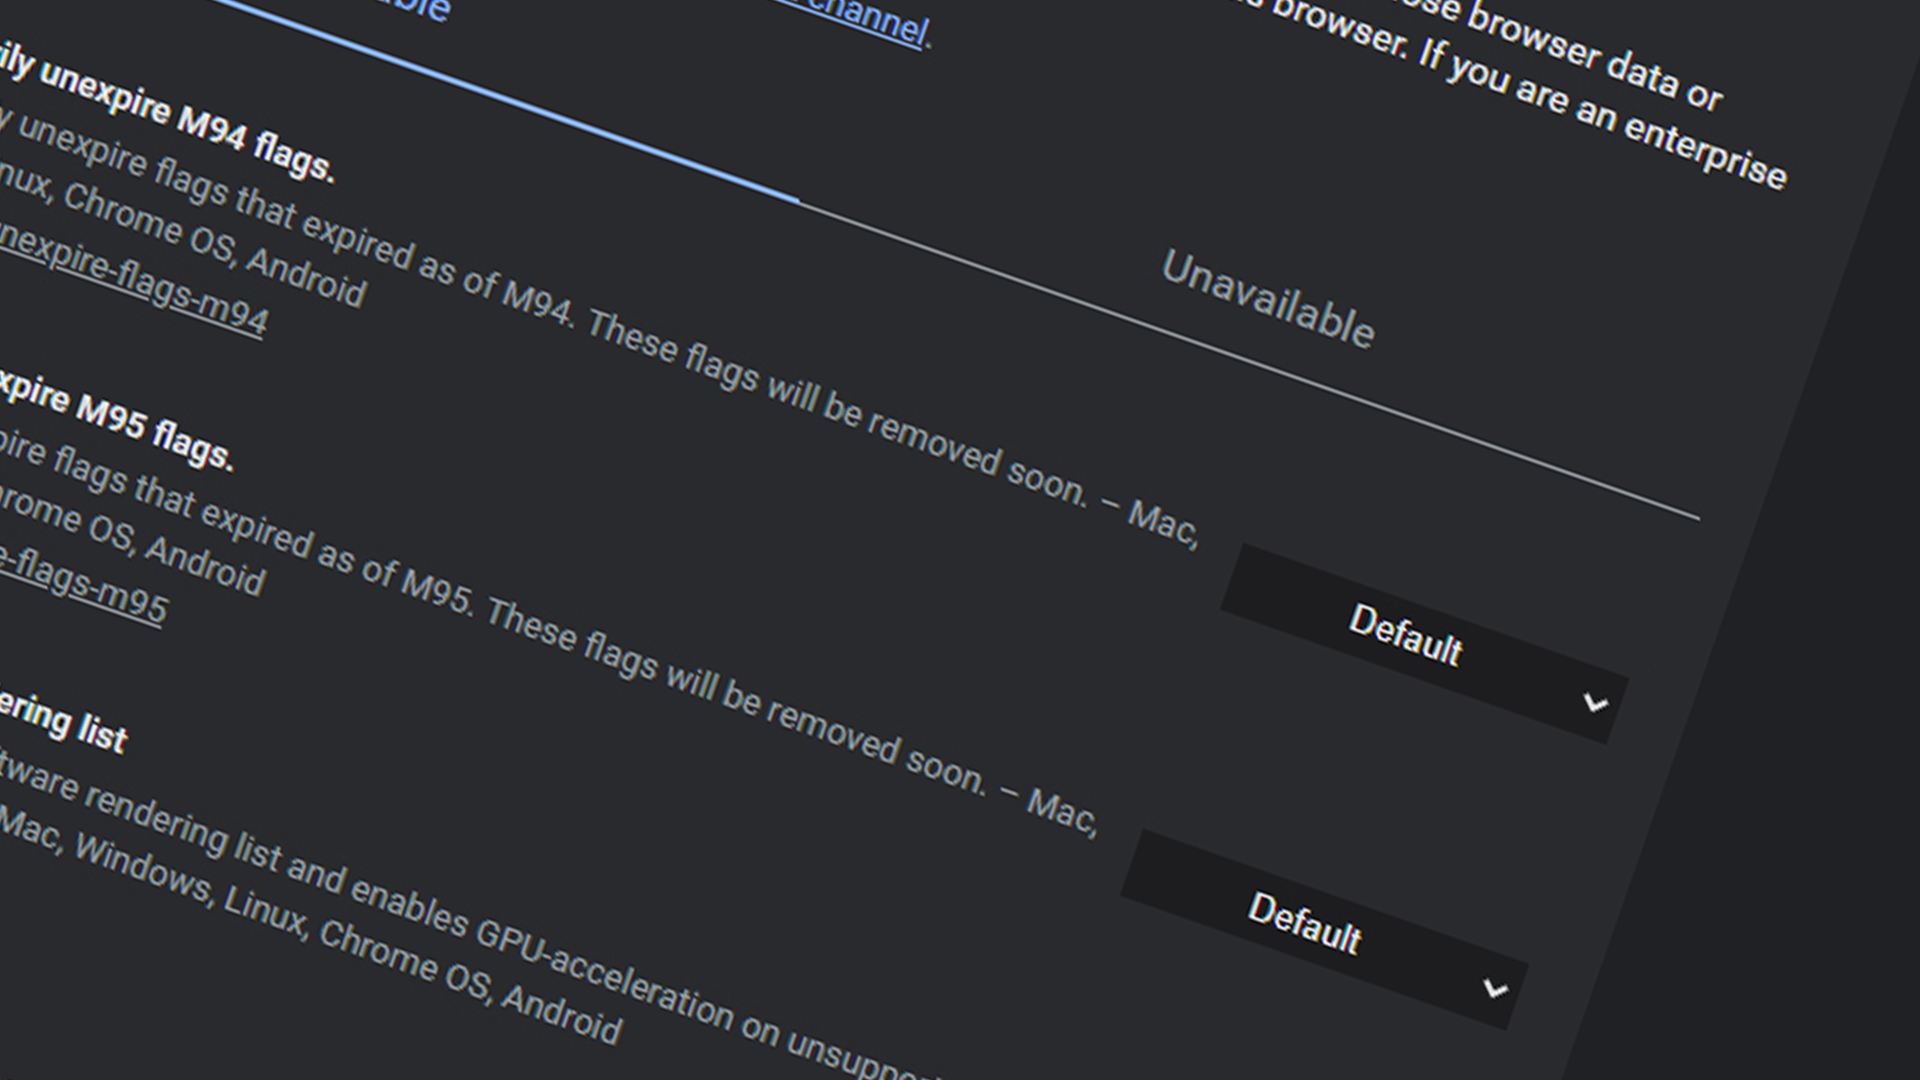
In the window where we are you will see a bunch of flags, each one with its name and below a small description of what it does and what changes when it is operational.
All we have to do is go to the right part of the one we want and open the drop-down. The options that are presented are only two and they are very simple. On the one hand, you have Enabled to activate the Flag or Disabled to do the opposite, to say, disable it.
When you run some change in a Flag you will be forced to restart Google Chrome for the changes caused by said activation to take effect, since if we continue without shutting down the program, said change will not be made operational.
To make the search process for a specific Flag, whose name we already know, is lighter, we have in the top a finder that resolved extremely effective. This is where we must write the name or a term, so that we can then see all the experiments that have the same name or directly the one we were looking for.
This is the fastest way to find an experimental part that you have read on any website and want to know how it works, to see how it behaves in your browser. Once you find it, you activate it, restart and everything will be ready.
We can also use the search to deactivate a flag that we no longer want it to be operational. That is, we look for them, we put it Disabled, we restart and it will no longer appear.
Hence the great importance of the search engine in everything that has to do with Flags, since it is the most comfortable way to find the ones we want.
Now that you know what they are, how they work and how we can take advantage of them, surely you are curious about which are the best Flags to activate right now, something that we will tell you in this article.
From now on you will be able to know which experimental part incorporates Google in your Chrome browser and see if it is something that works for you or, however, you better stay where you are. You will never have doubts about Chrome Flags again.
Reference-computerhoy.com