FF14: Pandæmonium: Abyssos – the complete guide
Welcome to our guide to Pandæmonium: Abyssos on Normal difficulty. This raid is one of the main features of patch 6.2 released on August 23, 2022 for Final Fantasy 14. In this part, too, you can once again venture down into the Ascians’ dungeon and tackle four completely new bosses there. So that you know what to expect, we would like to introduce you to these challenges here and go into the most important skills. That way you don’t have to go into these fights completely unprepared. Of course, it can also be worth taking a look if you have already defeated the bosses and want to find out more about one or the other ability. You can find our guide to Pandæmoium: Asphodelos here!
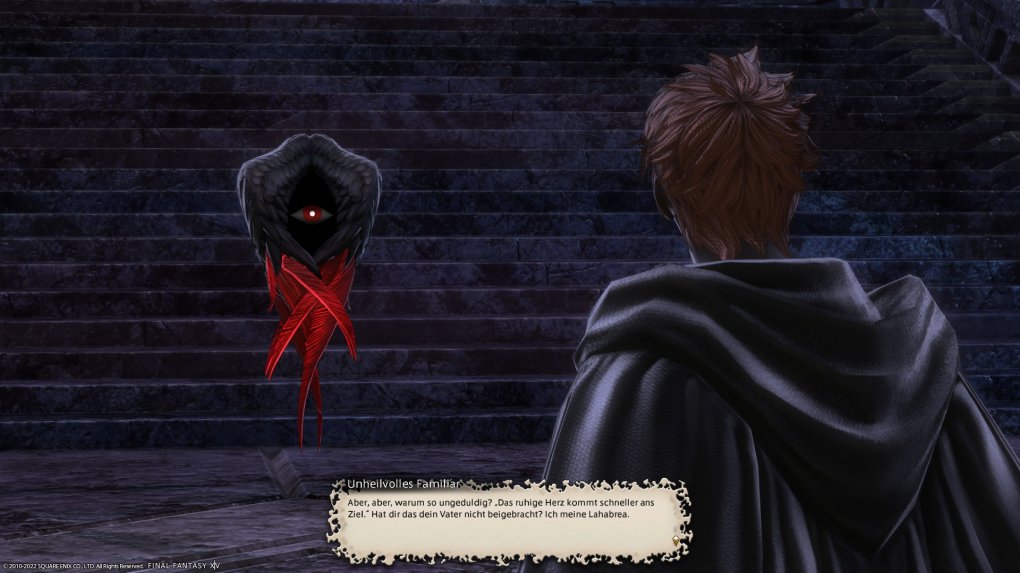
Here the story from Patch 6.0 is continued.
Source: buffed
To keep the guides clear, we won’t go into every area attack or tankbuster either. If you encounter these abilities, then react accordingly as you are used to from the rest of the game. Here we will only focus on the special maneuvers that might make life difficult for you.
Pandæmonium: Abyssos – this is how you unlock the raid
In order to unlock the second part of the Pandæmonium Raid, you must first have completed the corresponding questline from FF14 Patch 6.0. Then talk to them Claudia in Labyrinthos (X8.6 Y27.5) and accept the task “No special occurrences” here. As the story progresses, you will automatically unlock each raid level. On the normal level of difficulty, you need an item level of at least 585 to enter this raid via the content search.
Fifth Circle: Proto-Carbuncle
That Proto-Carbuncle is the first of the four bosses that you have to face in the new part of the Pandæmonium raid. While this isn’t too difficult just yet, there are a few things to keep in mind about this fight.
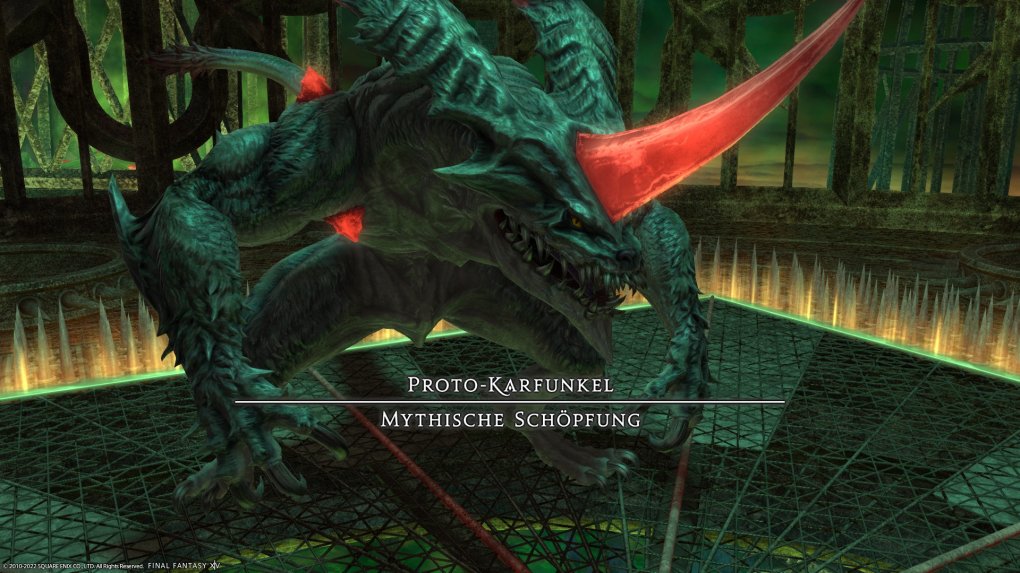
Although this boss is not too difficult, you should know what to expect here.
Source: buffed
Primal Carbuncle – Skills and Tactics
The boss will periodically jump to one side of the field while doing so Searing Ray Act. Just stay right behind him here to be safe from this attack. appear later barriers in the middle of the arena. These block the boss’s attacks. In this case, stay on the other side of the barrier to get ahead Searing Ray to be sure.
Also with them topaz stones barriers play an important role. At first you just have to stay away from the damage areas. However, if they appear with the barriers, you should be in the district where the topaz stones do not trigger a damage area. You can recognize this by the side of the barrier on which the areas are blocked by the wall.
If the damage areas extend into the respective quarters, you should stay away from them.
Source: buffed
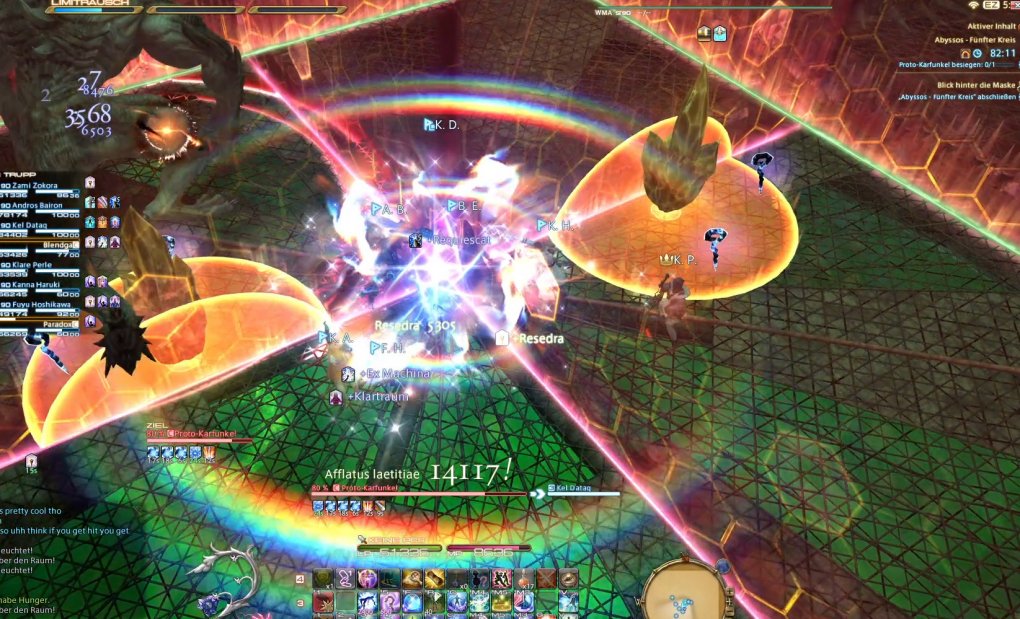
At around 70%, the Proto-Carbuncle will destroy the arena, with the fight continuing at a lower level. Many of the skills from the first phase are repeated here. at poison wave you have to spread out so that the damage areas on the players don’t overlap. Now come green topaz stones added, which trigger slowly growing poison areas. So stay away from them generously.
hunger is the last skill in this fight that might give you trouble. Five blue markers appear on the arena. A red maw will then appear, searching the markers one by one. Make a note of the order in which the mouth visits the markers. The boss will now attack the markers in the same order, so you’ll have to dodge them generously.
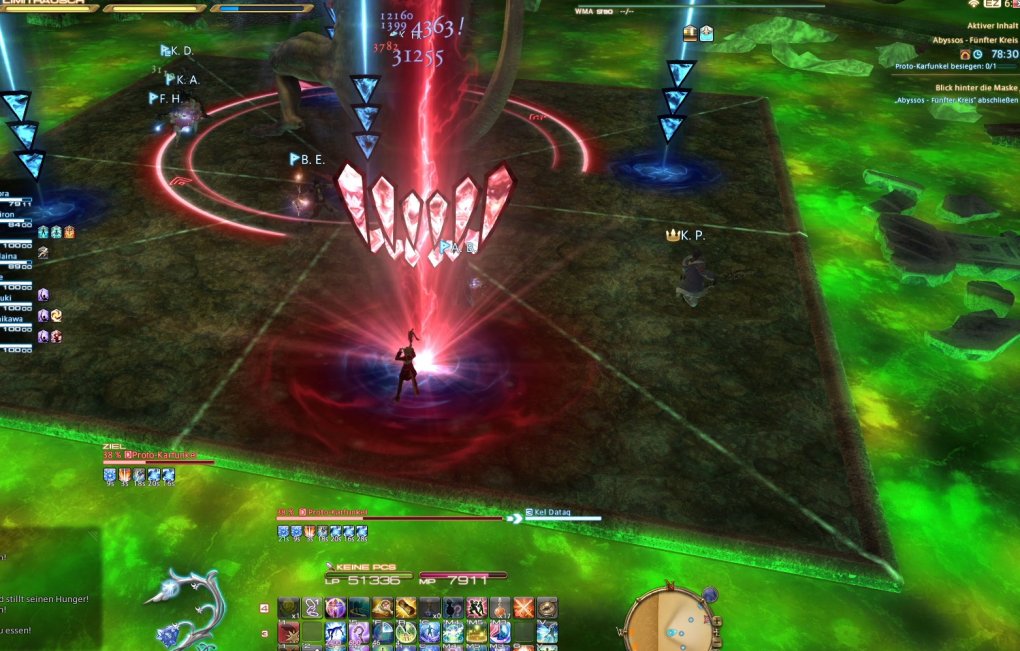
Remember the order in which the Maul scans the markers and later dodges in the same pattern.
Source: buffed
The second boss in this raid is all about positioning and anticipating the boss’s abilities. Try to keep track of things here and you shouldn’t have too much trouble with this fight.
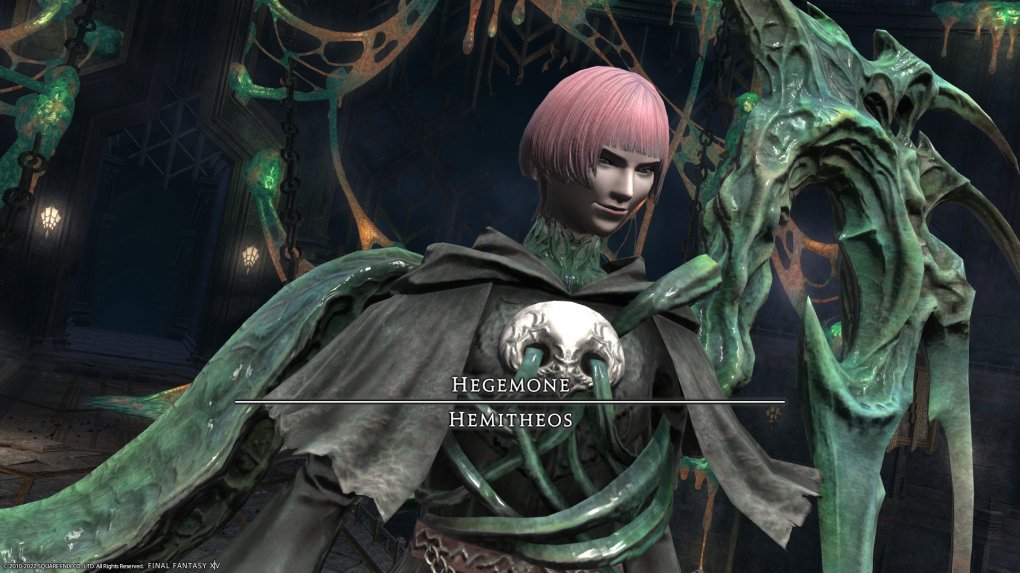
With the hegemon you have to keep an eye on the environment and the boss alike.
Source: buffed
Hegemons – tactics and skills
Throughout the fight, the boss will die tiles on the floor light up. Pay attention to which of the tiles are covered by a damage area and dodge them. Later in the battle, markers will appear, each of which exchanges four tiles (i.e. a quarter of the arena). Place yourself here beforehand so that you are safe after the exchange. The tiles also combine with various other area attacks. So keep an eye on the boss at the same time so you don’t get caught off guard.
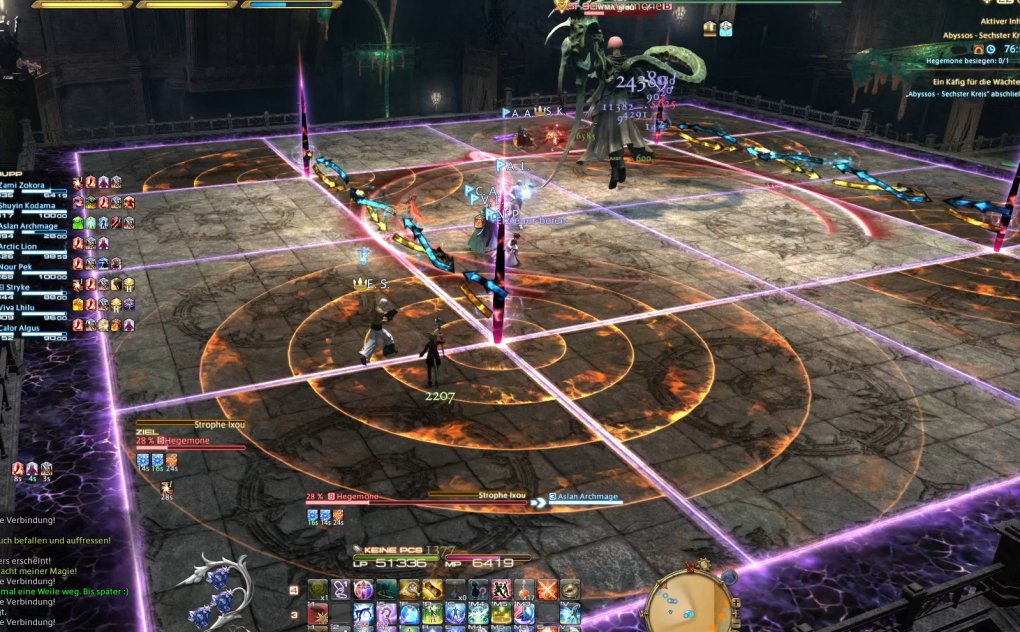
The lines indicate which four tiles will be swapped with each other. Position yourself in time to avoid damage.
Source: buffed
Chorus Ixou triggers area attacks that go in two directions from the boss. The red balls that appear on each side of the boss tell you the exact direction of the attacks. at Ixou stanza the boss will slowly rotate in circles and keep attacking. So run in the right direction so as not to take any damage. Later, both skills are shared with the tiles appear. So always pay attention to where you are in the room.
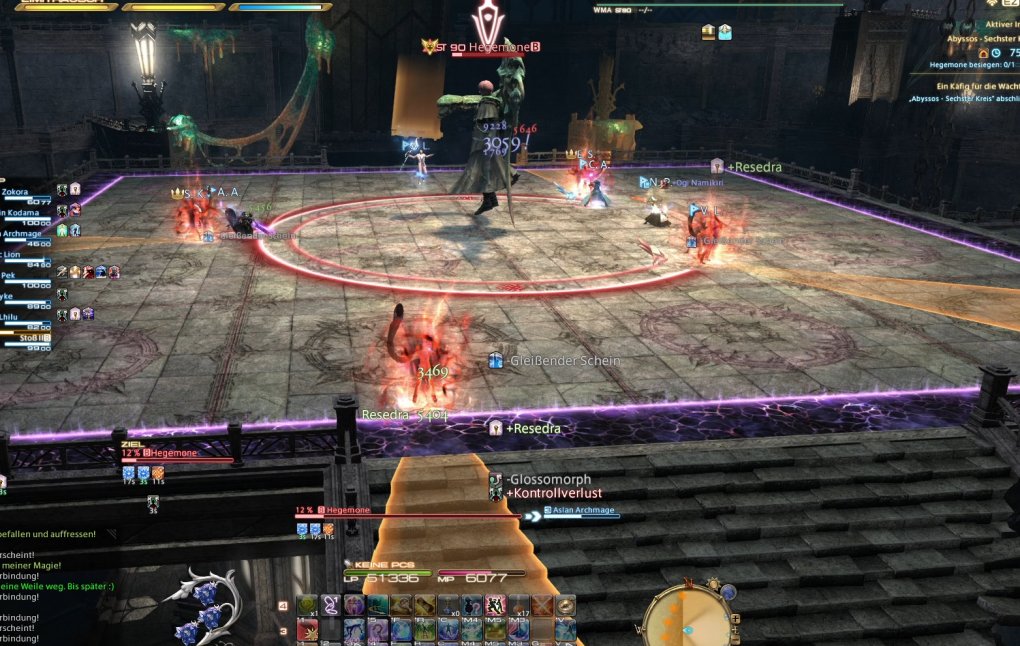
Turn inside out with Parasitism when the timer runs out. So you avoid damage to the group.
Source: buffed
parasitism will apply a debuff to every player. After a certain time, this triggers a cone-shaped area of damage in your line of sight. This is indicated by a green timer above your character. Run to the edge of the field in good time and turn your character outwards so that the damage area does not go into the room.
next page
Reference-www.buffed.de