WoW WotLK Classic Dungeon Guide: Halls of Lightning (Normal/Heroic)
In the eastern part of the Ulduar titan complex, in the Storm Peaks zone in WoW WotLK Classic, there is the Halls of Lightning instance, which resilient heroes of level 80 and above are allowed to enter. Are you up for a titanic adventure? Let’s go! The group composition comes as no surprise, with a tank, a healer and three damage classes making up the usual lineup. You can also complete two quests in the halls, for which you must defeat the second and fourth boss of the instance. You receive these quests from King Jokkum, the leader of the Sons of Hodir. To do this, however, you must complete the long quest line in the Storm Peaks, which begins on K3 with the task “You have our men!” begins. New armor for shoulders and chest beckon here as a reward.
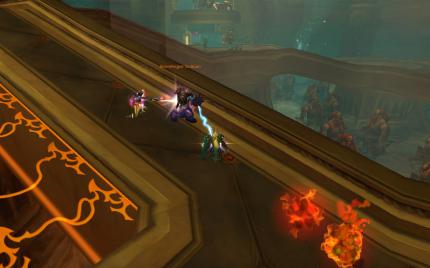
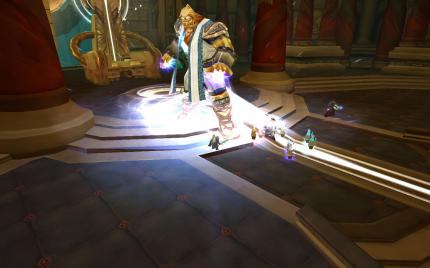
Already at the beginning of the instance you can see the first boss walking around in the background.
Source: buffed
When you enter the instance, you can already see the first boss, General Bjarngrim, walking around in the distance. Before you get to deal with him, however, you still have to believe a few standard opponents. First kill the Steel Skycallers, who will attack you from afar with their rifles. Then you button up the Hardened Steel Berserkers. Your tank binds them well because they deal high damage. The Steel Reavers are a mere formality. The Stormforged Tacticians and Healers aren’t really a threat either – just make sure the latter can heal their comrades. After you’ve cleared enough space for the boss fight, General Bjarngrim and his two Stormforged Lieutenants go for it.
During his tour of the platforms, General Bjarngrim periodically picks up an electrical charge and loses it again one platform later. You should only attack Bjarngrim when he is not under the influence of the electrification. Otherwise, his attacks do double damage. If you can’t sedate them with crowd control effects, kill the lieutenants first. Then you turn to the General. This will change its fighting stance over time – so pay attention to its corresponding new abilities. In berserker stance, he does 25 percent more damage. He also attacks with a Mortal Strike that deals very high physical damage. If he casts his Whirlwind, all players distance themselves. In combat stance, his melee attacks are 25 percent faster. He also uses a cleavage attack. In a defensive stance, he likes to charge at a random player. On top of that, he occasionally reflects spells and interrupts spellcasts with a slam. Occasionally he also pushes the tank away from him – make sure that you are standing correctly and are not thrown into other groups of opponents.
Of course, Bjarngrim’s attacks are in heroic mode significantly more damage. Additionally, the two lieutenants are immune to crowd control effects – so kill them first. For success lightning strike you need a tank that can take a beating and a good healer.
Be careful with area damage: the cinder will explode when it dies.
Source: buffed
After the fight against the general, you eliminate any remaining standard opponents that you encounter on the way to the forge. Inside the forge, you’ll encounter dozens of low-hit slag elementals. They decompose your players’ armor – so don’t bring too many of them. Of course, area spells come in handy against these enemies, but be careful: they explode with a blast when they die. So don’t kill all enemies at once to give your healer some breathing room. Nevertheless, you have to beat your way through the forge quickly, as the enemies will reappear after a very short time. When you get to the other end, you’ll encounter more elementals. Fire storms and steam rages put the group to the test – a sorcerer can ban if necessary. Kill the Firestorms first, which do higher damage than their steam partners. Defeat all enemies on the upper platform to give yourself more space in the fight against the second boss, Volkhan.
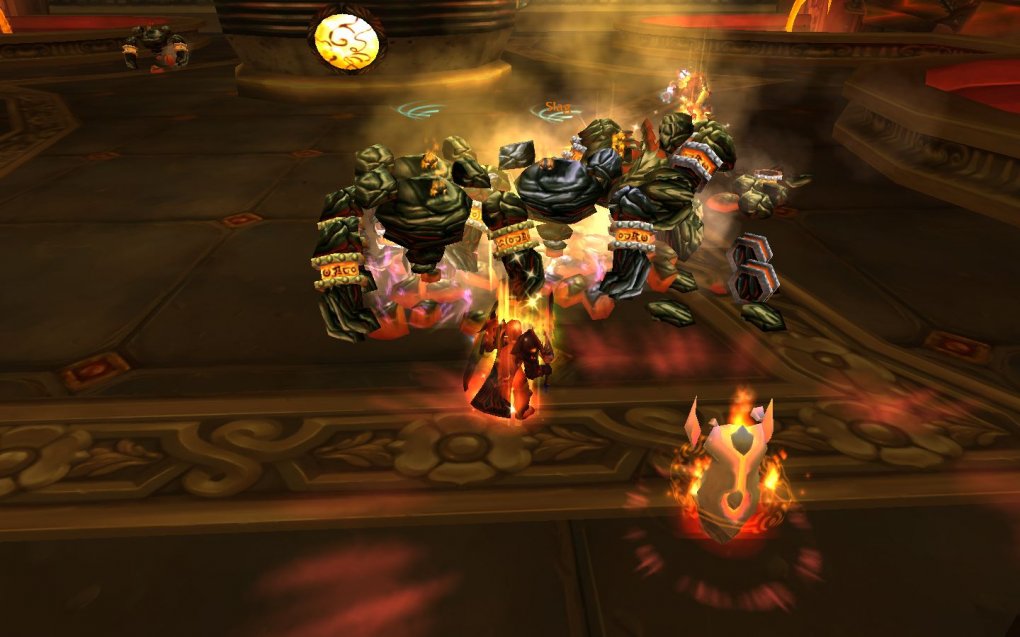
The fight against Volkhan is quite easy if you have enough damage with you. His attacks hit the tank relatively hard, but he hits rather slowly. He occasionally runs to his anvil and creates a small army of Molten Golems to aid him in battle. These attack with a blast and incendiary blasts. The fewer hit points they have, the slower and less dangerous they are – if they are low on hit points, they freeze to stone. Occasionally, Volkhan stomps heavily on the ground, causing some damage to the group. In addition, all petrified golems will shatter and deal significant damage to those around them. So bring the golems to a low hit point number and keep your distance from them. So you take no damage from bursting. If your healer is on the ball, you can also ignore them.
When Volkhan runs to his anvil, golems appear
Source: buffed
In heroic mode by Volkhan there are no big differences from normal mode. However, you should really stay away from the golems here, so that you don’t get smashed off your feet. If your healer is on the ball, you can also ignore them and thus achieve the “Smash Resistant” achievement.
In the next section you will not spot any standard opponents, but beware – appearances can be deceiving. After walking a few meters, some of the stone statues on the side come to life. The Titan Thunderers will rake you with thrown weapons, so kill them first. Then it’s the turn of the Titan Siegebreakers. They dish out quite a bit, and teach you to fear just before they die. After three groups, the way to the following room is free, in which some harmless elementals await you. Ionar, the third boss in the Halls of Lightning, is already waiting at the top right of the stairs.
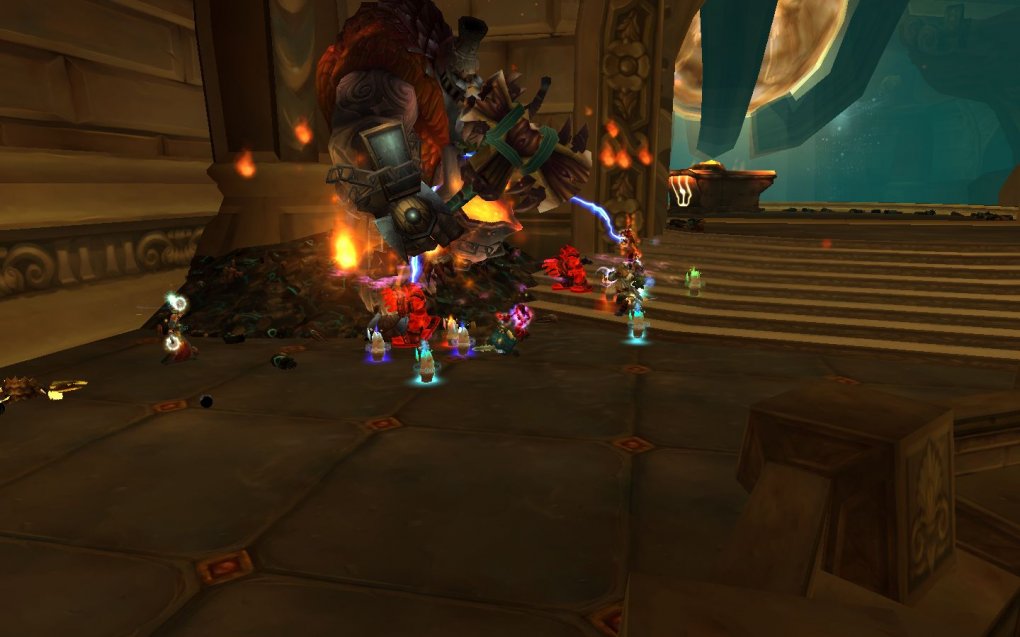
Ionar doesn’t put you to a particularly great test. Periodically, he splits into many small sparks and becomes invulnerable. Run away from the sparks to avoid taking damage. After a while, they merge back together and the fight with Ionar continues normally. A randomly selected player gains a Static Overload. This takes some distance from his companions to minimize the group damage. If the boss shoots you with ball lightning, you can avoid the damage by moving a few steps to the side.
The boss differs in heroic mode not from its normal variant. Only the damage has increased.
Ionar periodically bursts into sparks and is untouchable
Source: buffed
In the next room some enemies are patrolling again. Also, you’re dealing with dwarves again. The Titan Outposts will occasionally throw a poisonous spear at a player that your healer needs to pay special attention to. On top of that there is a reunion with the Molten Golems. The Stormforged Sentinels aren’t much of a problem. However, they heal your comrades and occasionally give you a sleep effect. Beware of the Runeshapers in the first place. Their Charged Attack deals high damage to all players within melee range, while also firing arcane missiles at random players. Stun or interrupt effects are required here. At the end you have to deal with two giants who hit the tank particularly hard. Also stay away from the thunderstorm to save your healers some work. After the two huge opponents you stand in front of Loken, who sits bored on his throne.
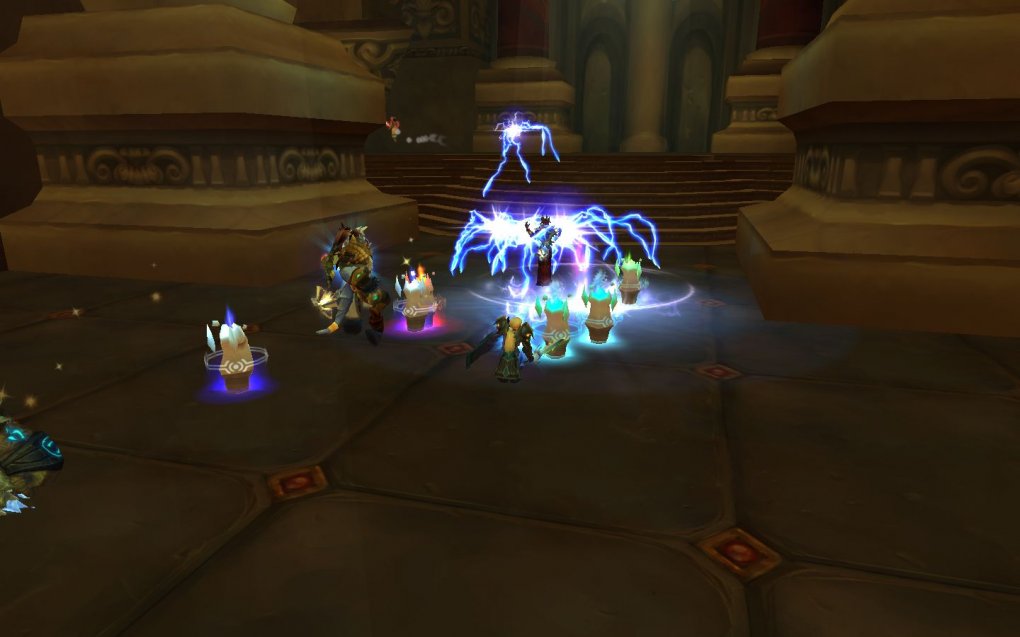
The Lightning Nova deals significant damage
Source: buffed
Even though the dark titan only has three abilities, he is one of the most difficult final bosses of the five-player instances. Your healer in particular has a lot to do here, and you should support him as best you can. Loken emits a pulsing shockwave that deals Nature damage over time. The further away you are from Loken, the greater the damage. Therefore, all players stand inside the boss. However, his lightning nova, which causes extremely high nature damage in a radius of 20 meters from Loken, becomes critical. However, this lightning nova is not cast immediately, but takes place after five seconds of cast time. So if he starts to nova, you have five seconds to move more than 20 meters away from him. However, this also increases the damage you receive from the Pulsating Shockwave. It’s best to run away in one direction as a group so that you stay within range of your healer. Alternatively, you can of course remain standing – but this requires a really good healer.
In heroic mode Lightning Nova’s damage doubles. This is where things get even harder for your healer, and you should equip gear with a little more stamina. Loken also gains another ability, Arc Lightning. This deals Nature damage to a random target and jumps to another player after three seconds. This increases the group damage again – which is not exactly an advantage.
Reference-www.buffed.de